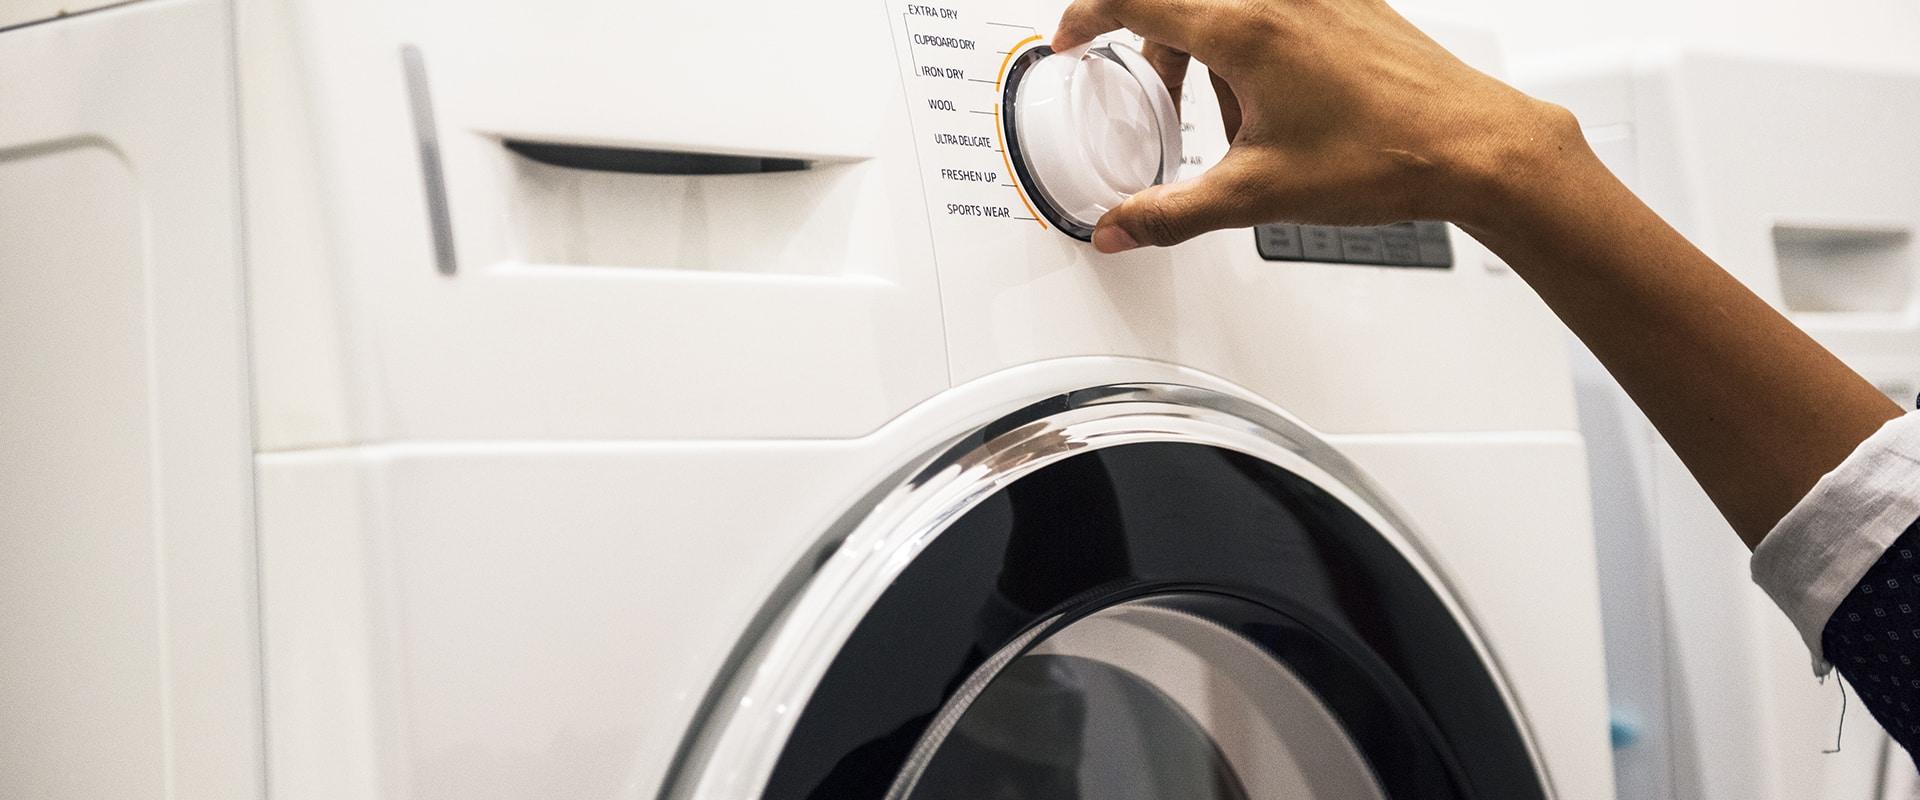
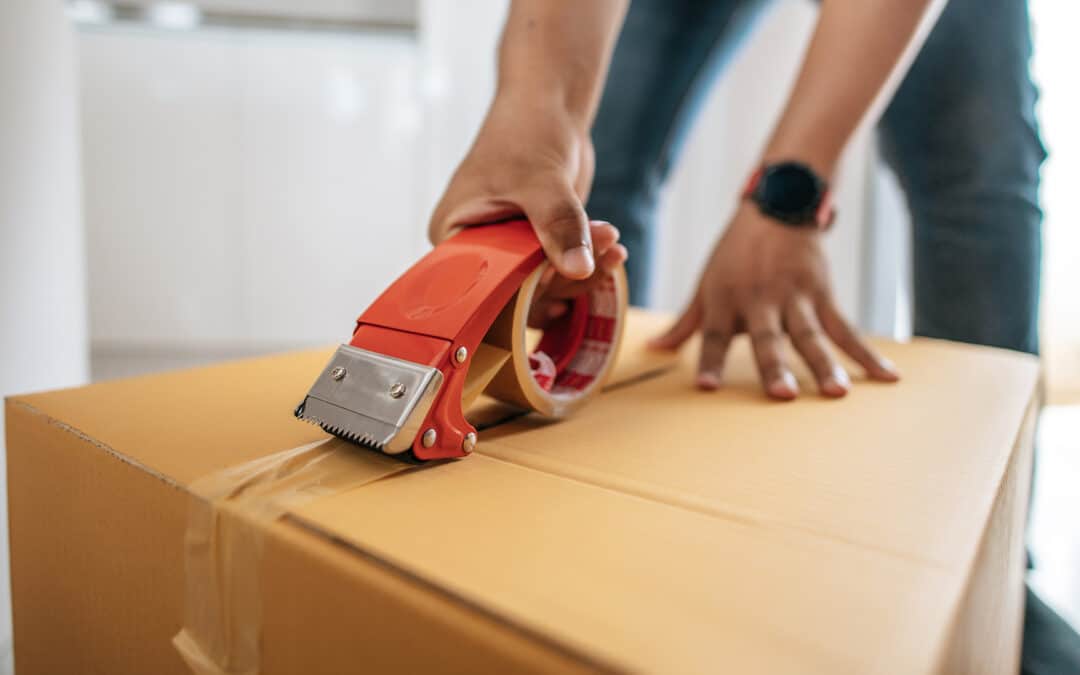
Moves are usually a long and stressful task to accomplish, as they involve carrying heavy loads and many constraints that we do not have time to analyze and think about. Preparing a washer for a move is a step that is often overlooked, but shouldn’t be. Knowing how to properly prepare your washer for a move can make a big difference and lead to a smooth transition. In this article, we’ll walk you through how to properly prepare and move a washer and what you should know before you start. We will also discuss the different precautions to take and the steps to follow to ensure the proper functioning of your washer after the move. Thanks to this information, you will be well prepared and you will be able to make a move without worrying about the washer. If you are preparing your washer for a move, this article will be very useful. We will discuss the most important steps to take and tips to follow. Ultimately, a good move is possible if you follow a few guidelines to protect and prepare your washer.
Preparing the washer before moving
Preparing your washer for a move is an essential step in moving in. It is important to proceed correctly with the preparation steps to ensure their proper functionality during the move and avoid any possible damage. Preparing the washer includes removing leftover chemicals, examining the machine, removing pipes, and disconnecting the appliance. It is also important to secure moving parts and cable switches.
Before unplugging the washer, it is important to unplug the hoses and empty them. This can be done by opening the water supply valve to empty the drain hose. Once the hoses are disconnected, it is necessary to ensure that the inside of the washer is clean and that all chemicals are removed. It is recommended to wash the washer with a strong chemical or rinse it with hot water and make sure it is dry before unplugging it. Finally, all switches and moving parts must be secured with tape to prevent any deterioration during the move.
Cleaning and emptying the washer before moving
For preparing your washer before moving, the first thing to do is cleaning. To do this, you will need to unplug the washer and move it to a shaded area. Use a damp sponge and mild cleaning product to remove dirt and soap residue from inside and outside the machine. Once cleaned, let the washer dry for at least an hour. Once the washer is dry and cleaned, it’s time to drain. To do this, unplug the washer and turn off the water supply hose. Place a bucket under the drain pipe and open the drain valve to drain the water. Then, leave the tap open for about an hour to make sure there is no more water inside. Once all the water is drained, turn off the faucet, put the water supply hose back on and put the washer back in the place you want.
Preparing to move the washer

Preparing for the washer move is an essential step in ensuring a smooth transition from your old home to the new one. Before you begin, be sure to check your washer’s setup and determine if it can be moved. Top loading drum washers are generally much lighter and therefore easier to carry. Next, you’ll need to make sure the washer is ready for transport. First you will need to empty the drum of all its fabrics and other items. Next, you will need to check that there is no water left inside the drum and dry it with a clean cloth. Also, be sure to disconnect the water supply hose and empty it completely. Ultimately, you will need to detach the washer from the power and water supplies and secure its feet to prevent the drum from moving during transport.
Labelling of washer wires and fittings for moving
In order to facilitate the movement of the washer, it is important to properly label the wires and fittings of the washer. For this, you will need labels or tape and a permanent marker. Start by unplugging each of the cables and fittings from the washer. Once unplugged, take the time to clearly identify each cable and fitting by labeling them with tape or labels. Also, be sure to mark the section of the washer where the wires are connected and where they will be connected again. Once you have carefully labeled all the wires and fittings, store them in a plastic bag to protect them. You can then roll them up and store them in the washer’s laundry basket when it moves. By properly labeling and storing all wires and fittings, you’ll be able to easily and quickly reinstall the washer when you arrive at your destination.
Preparation of the washer reception area when moving
Properly preparing a washer for a move starts with the area in which it will be installed. It is important to consider this step as the basis of preparation. You need to make sure that the washer reception area is ready to receive the new appliance. When installing the washer, you need to make sure that the floor is flat and stable. You should also make sure that the area is large enough to accommodate your washer and that the dimensions of the room are compatible with the dimensions of the washer and the supply and drain pipes. Once the area is ready, you need to check that the skirting boards and furniture are safe and stable. You’ll also need to check that the floor and wall edges are clean and free of dust and dirt to avoid damage to the washer. Finally, you need to make sure that there are no debris or other objects that could interfere with the operation of your washer once installed. Properly preparing your washer’s reception area before moving is the first step in ensuring that the installation and use of your washer runs smoothly.

